Setting up the Project in Source Control
This step is highly service specific: The Source Control service you are using determines the how of setting it up, but also often brings its own concepts you may need/want to work around/with.
In this example, we are assuming you are using either an Azure DevOps Server or Azure DevOps Service. If your organization prefers a different Source Control system, much of this chapter will not really apply to you - other than the high level concepts, they go their own way.
In Azure DevOps, code (or here: Configuration files) lives in Repos which are part of Projects.
We need to create both for this.
An Azure DevOps Project also contains other useful components. For example you could use Boards as a project management tool.
Step 1: Creating a Project
The root level in Azure DevOps is the Organization (in case of the online Service) or the Collection (in case of the on-prem Server).
Under that we create a new Project:
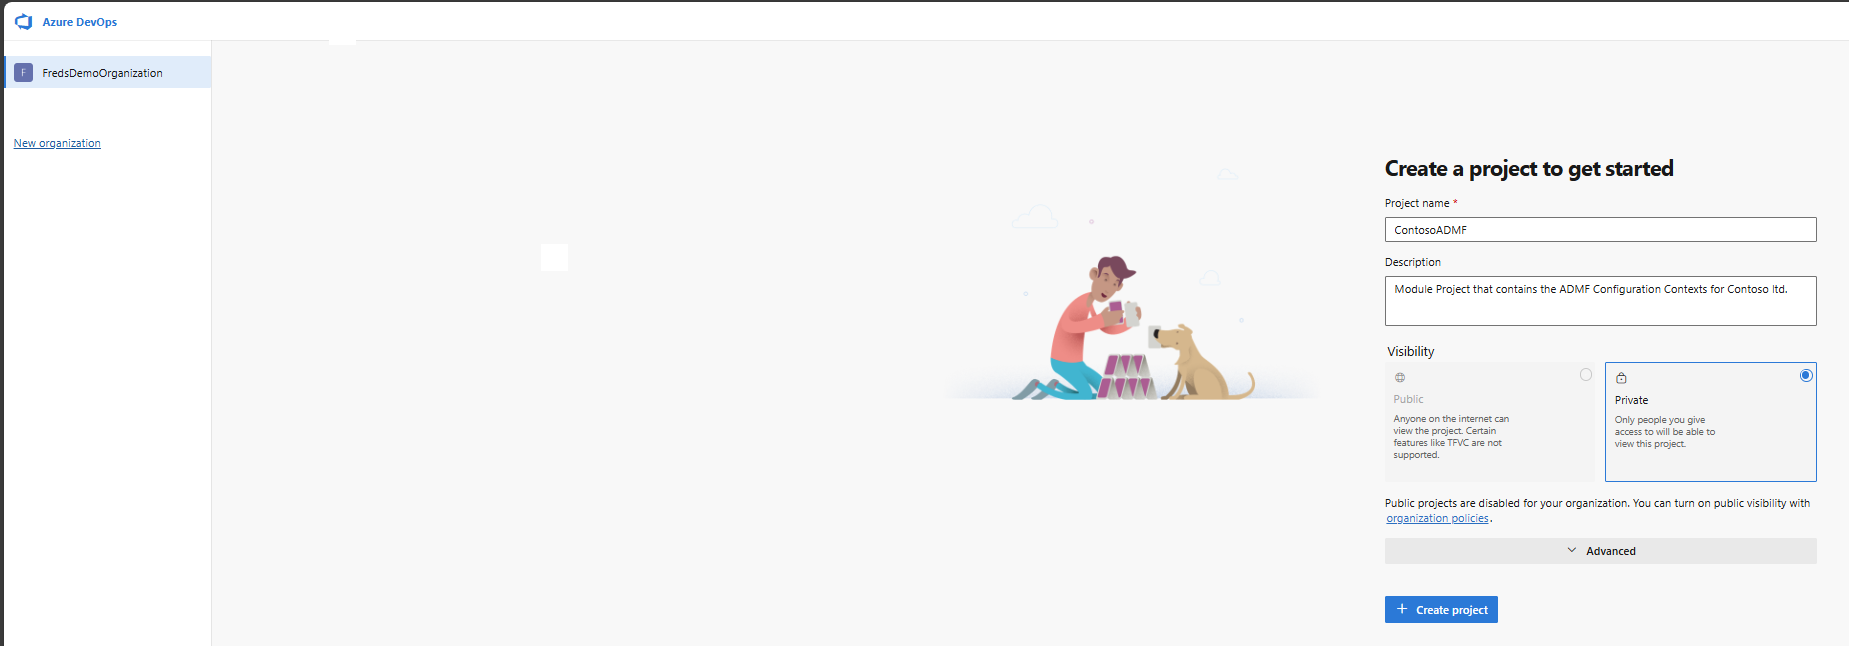
If you plan on using the project management features of Azure DevOps, consider what workflow you want to roll out with the project - it is a lot easier to pick the right one now, rather than changing it later.
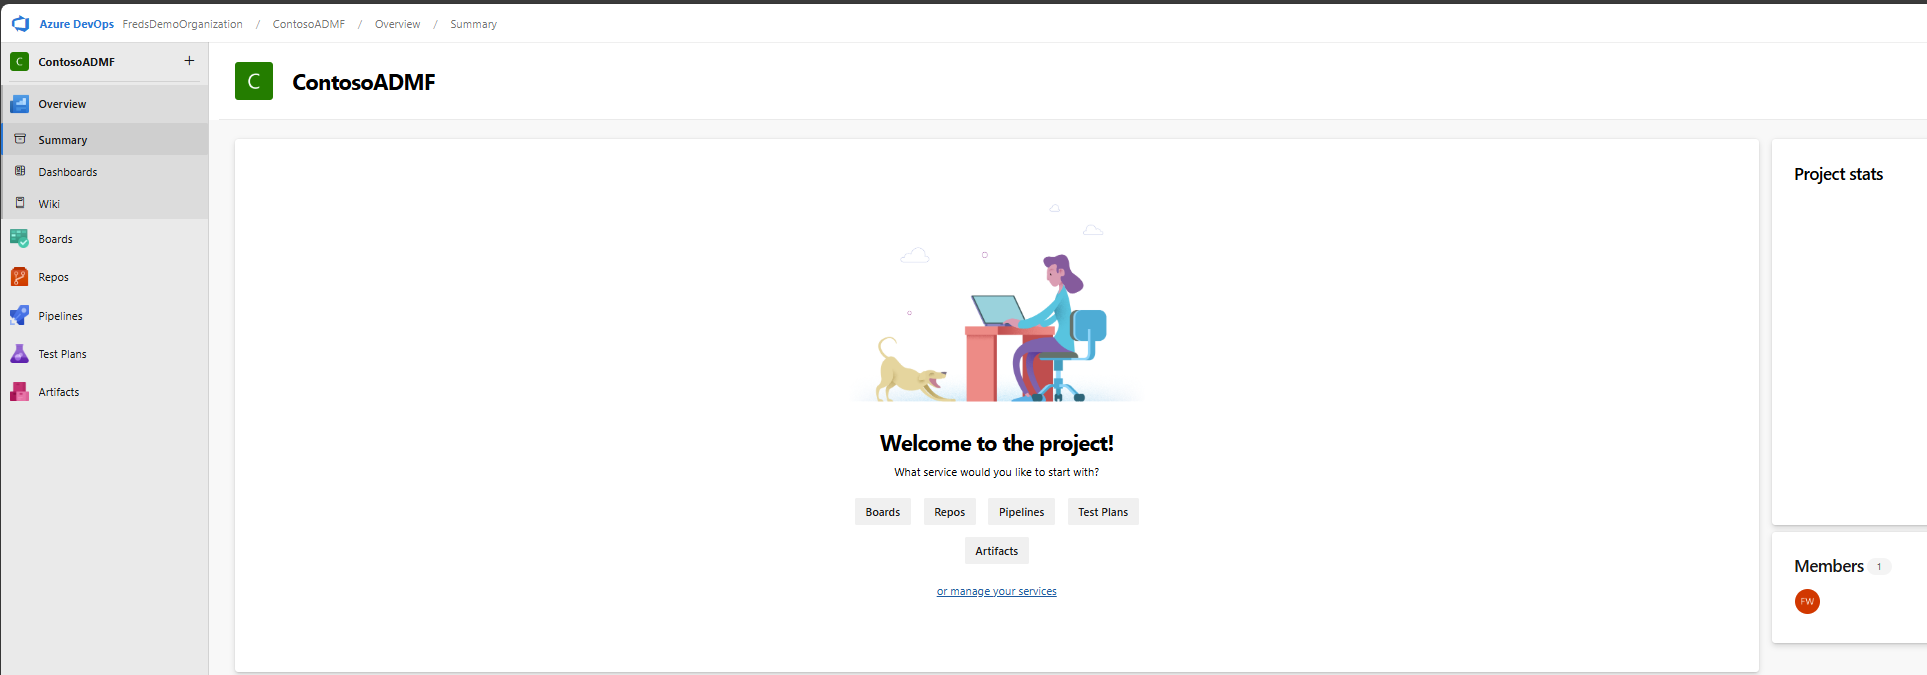
Once we select to create the project, we need to wait a bit before Azure DevOps completes this and redirects us to the landing page for the new project;
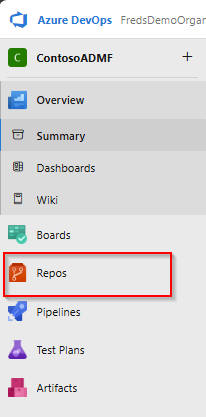
Step 2: Creating the Git Repository
To now create the repository, select Repos on the navigation bar to the left:
This will send you to the Files subsection of Repos, which does not yet contain anything and asks you, whether you want to initialize (create) a Repository:
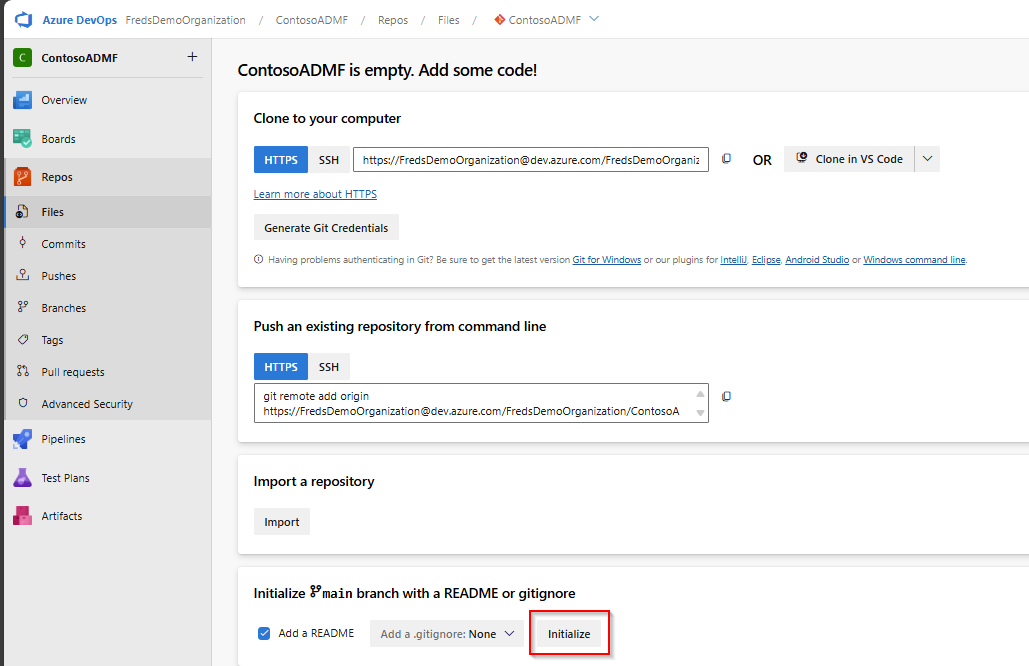
Hit the Initialize button and wait for the repository to be created.
Step 3: Cloning the Git Repository into your editor
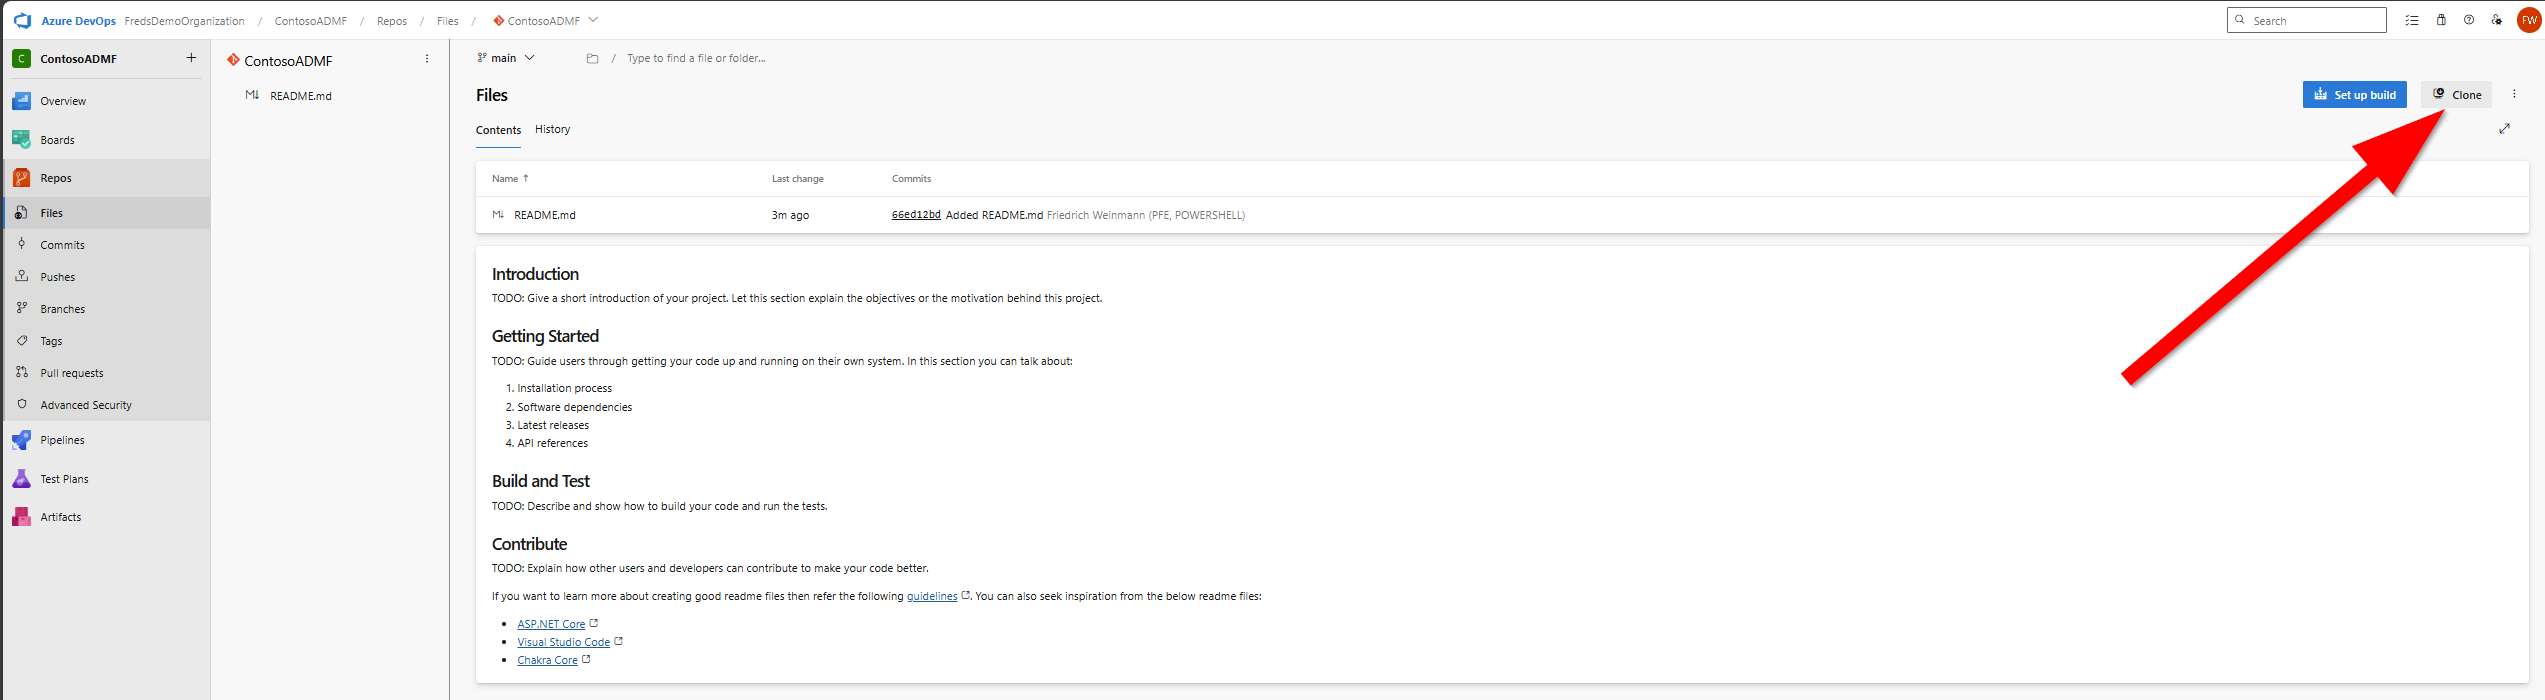
Once the previous step is completed, we are now ready to clone it into our local Visual Studio Code.
Make sure you have at least one Window of the editor open on your computer.
Then, in the upper right corner, select Clone, followed by Clone in VS Code:
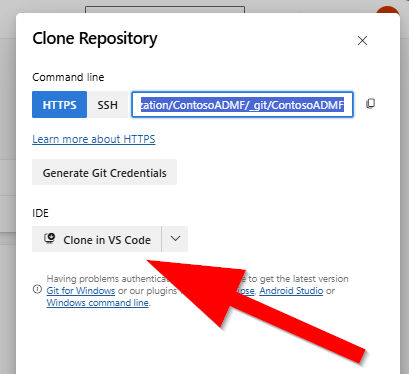
Your browser may ask you, whether the page may be allowed to call Visual Studio Code. Better approve this:

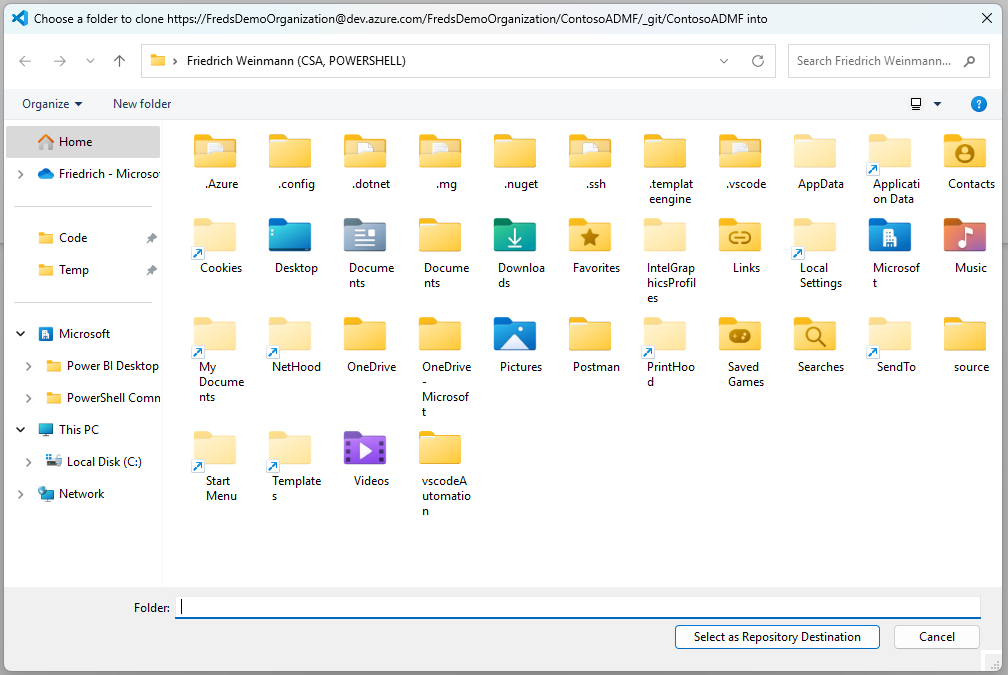
Which will lead to Visual Studio Code showing you a "Where do you want to clone this" dialogue. Pick a folder and confirm this.
Note: When cloning a repository, it will automatically create a folder named for the repository and place all the content within. In other words, you do not need to create a specific folder for this repo first.
As another recommendation, pick a local path on your computer, not some network share or ONeDrive synced folder. Git brings its own mechanism for version control, repication and loss avoidance, they frequently conflict with other tools trying to solve this problem.
Once you have selected the folder, it will now try to clone the repo. Depending on whether you are using the on prem Server or the online Service, Visual Studio Code may ask you to authenticate first.
Finally, once that is done, and everything is cloned, it will ask you, how you want to display the newly coned repository:

- Open: This will replace whatever you have currently opened with the new repo
- Open in New Window: This will create a new Visual Studio Code window to display the repo
- Add to Workspace: This will merge the new repo into what you have currently opened (within VSCode only!). In effect, it will display both the previous and the new opened folder side-by-side, without affecting their actual location in the filesystem.
- Cancel: This will not display the newly cloned repository. The cloning still happened, any files are still on disk.
Pick whatever option works for you, but you will need to have it opened in one of your Visual Studio Code windows for the next chapter.
Step X: Adding Team Members
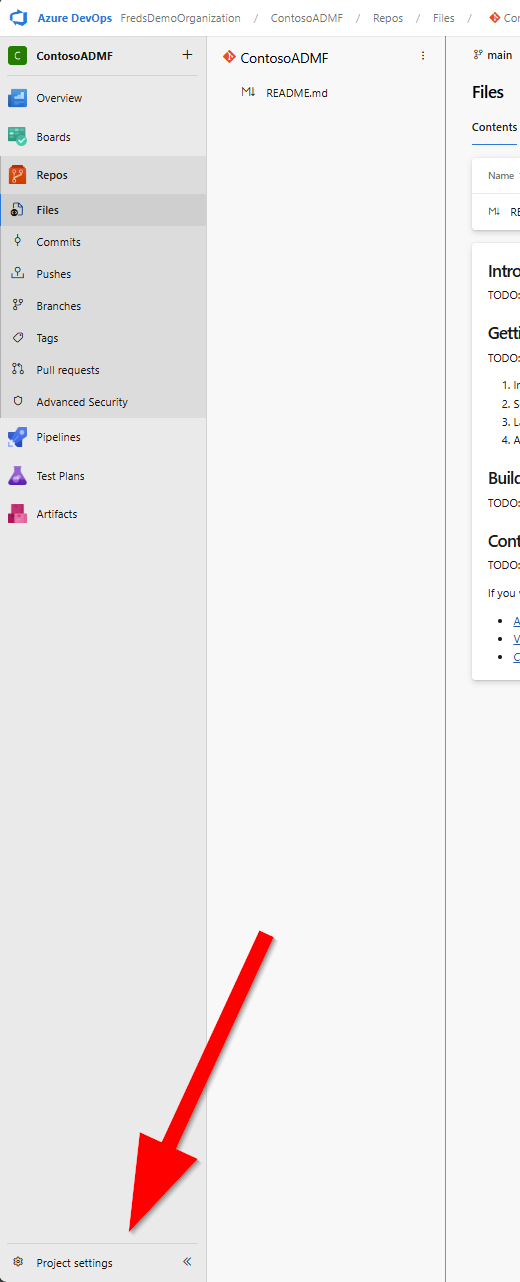
Not really directly a part of this process, but odds are, you want to ensure your coworkers have access to this project and the configurations. While we are not going to dive into the full access management for Azure DevOps, the quick steps work like this:
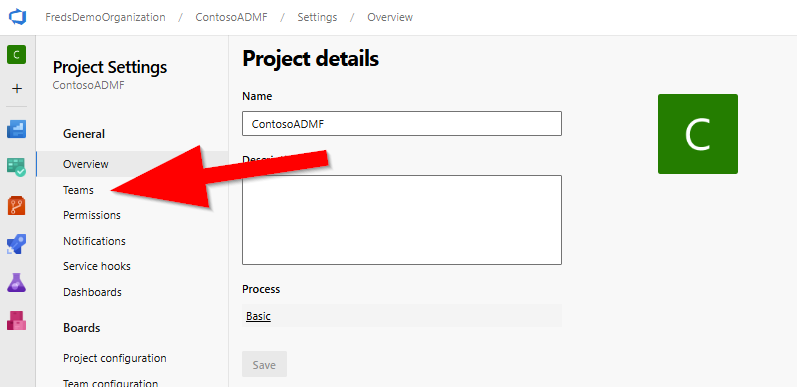
- Select Project Settings
- Select Teams
- Select the default Team

- Add a Member

- Search new Member
In the search panel, type until you find whom to add:

- Confirm / Save new Members
At the botom of the panel, hit the "Save" button:
